Cooking Adventure Restaurant Difficulty Tier List
Which kitchens teach clean fundamentals, and which punish multitasking mistakes.
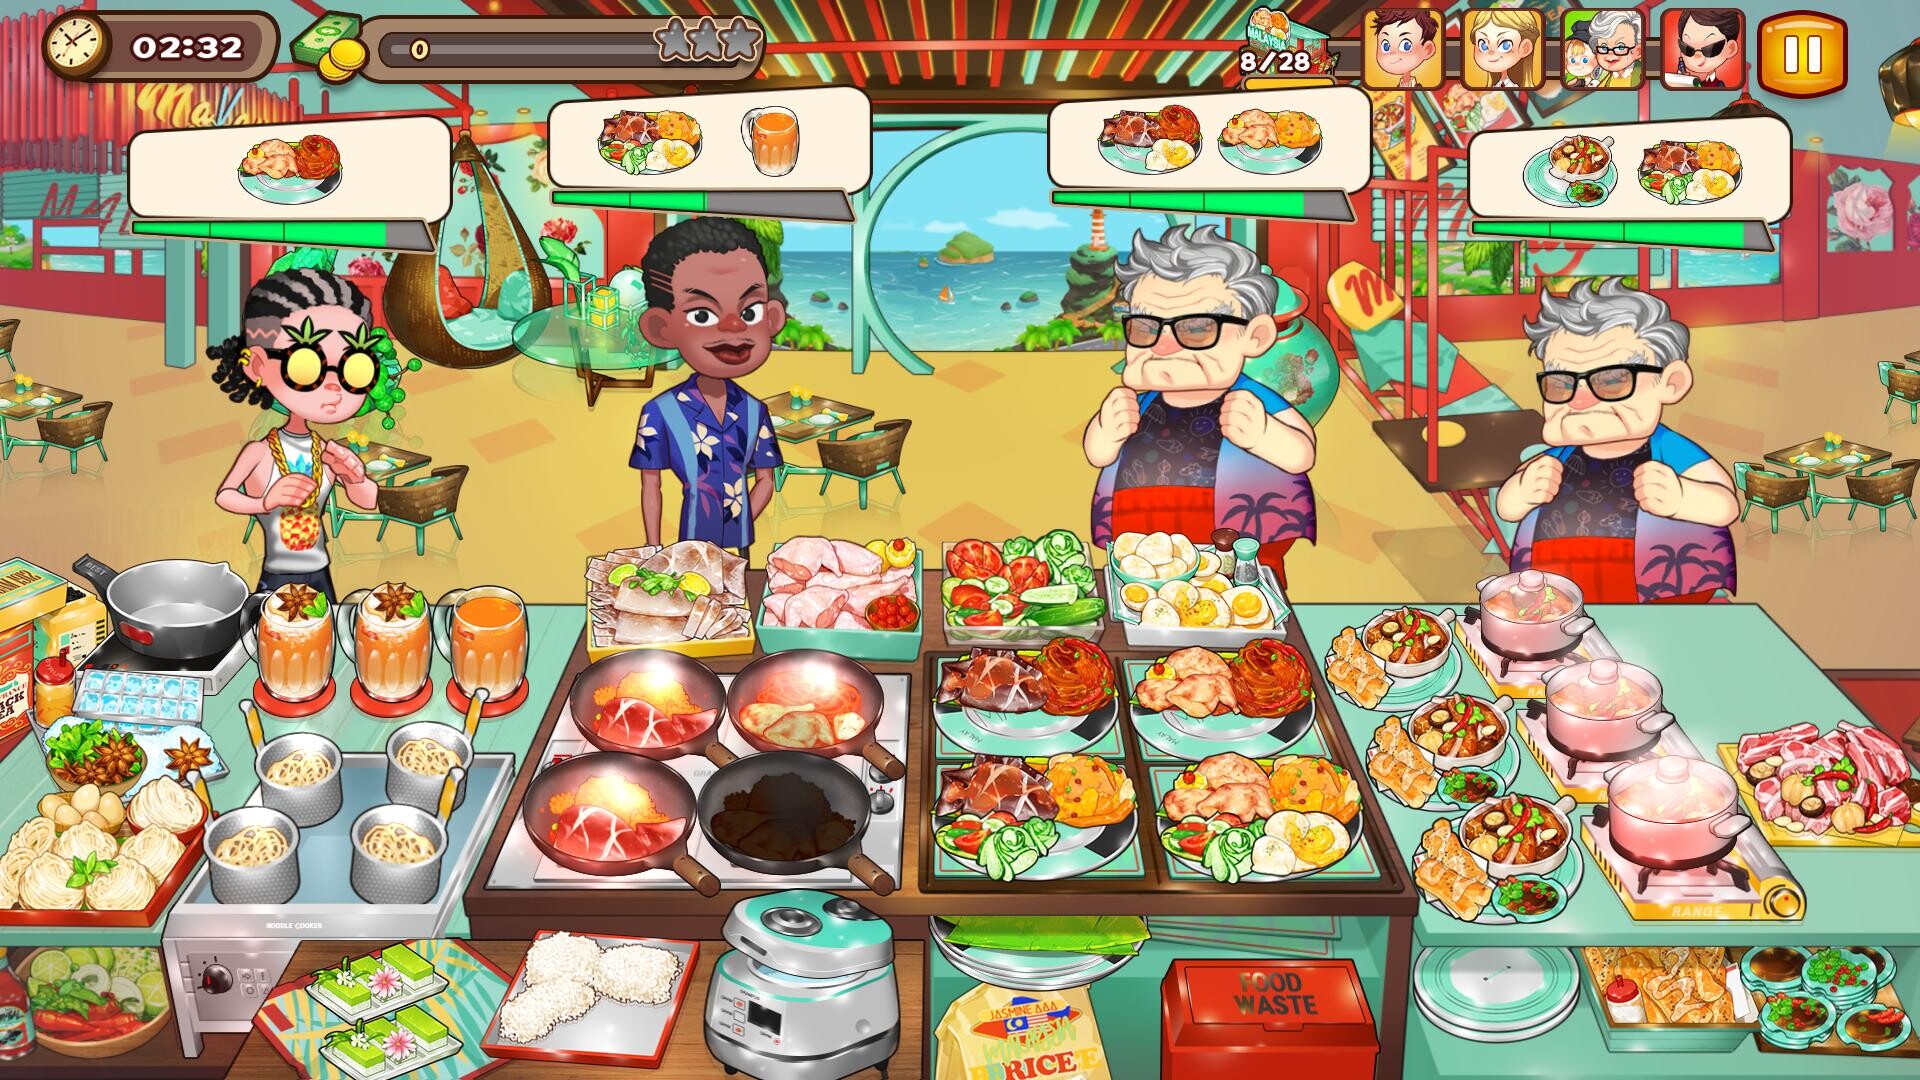
This tier list ranks Cooking Adventure restaurants by kitchen complexity, not by how early they appear in the campaign. Complexity means how many active stations you must watch, how many preparation steps sit between raw ingredients and a served plate, and how quickly a single mistake cascades into angry customers. Steam’s full roster covers 12 restaurants and 540 stages; the notes below cover the best-documented houses from demos, trailers, and the long-running mobile lineage that Steam rebuilds for mouse and keyboard.
Criteria used here:
- Number of concurrent cooking devices you must babysit
- Length of recipe chains (chop, cook, assemble, garnish, plate)
- Recovery window after a burn or wrong topping
- Customer patience pressure during peak waves
- How much station upgrades change the feel of the kitchen
If you are still learning controls, start with Getting Started and skim the restaurants overview before grinding late stages.
S-tier — Highest multitasking load
Pasta House and Ramen House sit at the top of the difficulty curve for most players. Both kitchens revolve around boiling, draining, combining, and topping under tight timers. You rarely get a “set and forget” moment; noodles keep cooking while sauces, broths, proteins, and sides demand clicks elsewhere. A late drain can ruin an entire batch, and peak waves often ask for two or three different bowls at once. Expect to spend more upgrade currency here before three-star clears feel fair. Pair hard stages with the upgrade priority advice so you are not fighting slow pots forever.
Chinese Restaurant belongs in the same high band for many players. Demo feedback and Steam Cooking Fest messaging positioned it as a deliberately tougher showcase than the early Grill and Sushi demo. Stir-fry timing, multi-ingredient dishes, and denser order sheets punish hesitation. If Grill felt comfortable, treat Chinese as the first real stress test of your station routing.
A-tier — Mid complexity, strong teaching kitchens
Grill House is the classic mid-tier trainer. Meat hits the grill, flips matter, and sides or toppings add a second layer without drowning you in boiling timers. It rewards clean mouse paths and keyboard shortcuts more than raw panic. Many players first learn combo rhythm here, which is why the free demo opened with Grill stages.
Sushi House sits beside Grill in the mid band, but for different reasons. Assembly order is strict—rice, fish, toppings, and plating must follow fixed sequences—yet you are not always walking plates to tables the same way as in a classic serve-line kitchen. The mental load is sequence memory and parallel rolls rather than endless boiling. Once the sequence clicks, scores climb quickly; until then, wrong-order plates waste precious seconds. Official Steam shorts and the Sushi House trailer are useful references while you practice.
Together, Grill and Sushi form the best “learn the game” pair. Clear their early stages thoroughly before you judge later restaurants as broken.
B-tier — Different pacing more than raw chaos
Coffee House and Doughnut House (Donut House in some materials) change the rhythm of Cooking Adventure more than they simply raise the station count. Drink builds, brewing waits, frosting, frying, and multi-step sweets create lulls followed by sudden order spikes. Players who thrived on Grill’s constant flip cadence sometimes struggle here because idle time feels deceptive—then three complex drinks land together. Treat these kitchens as pacing puzzles: prep ahead during quiet beats, keep garnishes staged, and upgrade the stations that gate the longest waits.
These houses are excellent for practicing queue reading. Watch the order tickets, pre-start long timers, and avoid overcooking while you decorate. When competitions rotate coffee or dessert themes, the same habits transfer directly.
C-tier and specialty notes — Supporting roster
The remaining Steam restaurants—among them Curry House, Mexican House, and other world-cuisine kitchens that fill out the twelve—usually land between mid and high difficulty depending on how many simultaneous pans, fryers, or assembly boards they use. Curry-style kitchens often behave like Pasta/Ramen cousins (long simmer plus toppings). Mexican-style lines lean on assembly speed and multiple toppings similar to Grill with extra garnish steps. Always re-evaluate a new house after one upgrade pass; a kitchen that feels brutal at base level can drop a full tier once cook times shrink.
Because Steam packs 540 stages across the twelve restaurants, late stages inside an “easy” house can still out-stress early stages of a “hard” house. Use the tier labels as a planning tool for upgrades and practice order, not as a promise that every Grill stage is casual.
Practical clear tips by tier
- S-tier kitchens: Prioritize station speed and capacity before cosmetics. Replay failed stages immediately after an upgrade so muscle memory updates.
- A-tier kitchens: Focus on routing—mouse travel distance between grill/board and serve points. Keyboard shortcuts help high scores here; see system tips.
- B-tier kitchens: Pre-cook during quiet moments. Never leave a long brew or fry unattended while you chase a single garnish.
How this list interacts with upgrades and competitions
Difficulty is not fixed. The upgrade priority tier list explains why cooking stations move a restaurant down a practical difficulty band faster than ingredient cosmetics. Competitions and score attacks amplify the same patterns: high-multitask kitchens punish burned batches harder because combo chains break. If you are chasing the 44 Steam achievements or leaderboard ranks, plan upgrade budgets around Pasta, Ramen, and Chinese earlier than around coffee-shop wallpaper.
For chef customization that can support playstyle preferences, read the Noma guide. For launch pricing, demo history, and purchaser gifts, see the Steam launch update. Return to the Tier List Hub when you need the short map of every ranking page.
Stay honest with yourself about skill versus gear. If you repeatedly miss three stars with fully upgraded stations, slow down, serve the closest impatient customer first, and rebuild your click path. If you miss three stars on base equipment in Pasta or Ramen, invest currency before blaming the tier list.
Frequently Asked Questions
Quick answers for new and returning chefs.
Why are Grill and Sushi only mid-tier if they are early restaurants?
They teach core timing and assembly without the heaviest boiling multitasking. Later stages inside those houses can still spike in difficulty.
Is Chinese Restaurant harder than Pasta?
Many players find both high-stress. Chinese was showcased as a tougher demo; Pasta and Ramen punish noodle timing mistakes especially hard. Your weaker skill decides which feels worse.
Do Coffee and Doughnut count as easy mode?
No. They change pacing. Quiet moments tempt you to idle, then stacked drink or pastry orders punish slow prep.
Will this ranking change after patches?
Yes if BPMG adjusts cook times, customer patience, or station layouts. We reassess after major updates listed on the Updates hub.