Cooking Adventure Kitchen Upgrades and Currency Tips
Spend stage earnings on the stations that buy real seconds for chef Noma.
Kitchen upgrades are how Cooking Adventure turns successful shifts into permanent power. You earn currency by serving customers across 540 stages in 12 restaurants, then invest in faster prep, stronger cook capacity, quicker toppings, and smoother serving. Because the Steam release from BPMG Inc. is buy-once with no base-game IAP, every coin comes from play — not a cash shop. That makes priority discipline essential. This guide shows how to choose upgrades, when to stop spreading currency thin, and how spending ties into three-star strategy and restaurant walkthroughs like Grill House and Sushi House.
Why upgrades exist
Early stages teach the loop with forgiving timers. Later stages stack tickets until a stock kitchen cannot keep up even with perfect clicking from the Controls guide. Upgrades buy time: fewer seconds chopping, more simultaneous cooks, shorter plating, less walking between stations. They do not replace fundamentals — burnt food still burns — but they raise the ceiling so fundamentals can produce three stars instead of desperate one-star clears.
Diagnose before you buy
Ask one question after a failed or ugly clear: what actually ran out first?
- Prep board busy while cookers sat empty → prep speed or capacity.
- Food burning because too many items were on heat unsupervised → cook capacity with care, or play pattern fixes before spending.
- Dishes cooked but customers leaving during toppings → topping or plating speed.
- Everything ready but serve clicks too slow under chaos → serving counter / pass improvements and cursor habits.
- General sluggishness with no single spike → the station you touch most in that restaurant.
Buying the flashiest upgrade while ignoring the real bottleneck is the most expensive habit in the game.
Priority framework (use every restaurant)
- Fix the failure station from your last two shifts.
- Upgrade high-frequency actions you perform on almost every ticket.
- Add capacity only when you already supervise heat well.
- Polish quality-of-life after the kitchen clears comfortably.
- Avoid even spreads early — one strong bottleneck fix beats four tiny upgrades.
Write the priority on paper if needed. Currency feels abundant after a good streak and suddenly scarce when a new restaurant opens with unfamiliar stations.
Prep upgrades
Prep is the hidden pacedriver. If chopping, mixing, or dough work lags, cookers starve and patience falls before heat ever matters. Invest in prep when multiple tickets share ingredients or when you constantly wait on boards. Batching from three-star strategy multiplies prep upgrades — faster boards plus smart batching is a force multiplier.
Cook station upgrades
Grills, fryers, stoves, ovens, and specialty cookers define each house. Capacity upgrades let you run parallel tickets; speed upgrades shorten wait windows. Buy capacity when you understand burn control. Buying capacity while still burning food creates more disasters per minute. If burns are your problem, improve habits and maybe quality tools before maxing simultaneous steaks.
Grill House teaches this early: more grill slots are wonderful only if you can babysit them. Sushi House leans less on burn and more on assembly cadence — spend accordingly.
Toppings, plating, and serve
Late-ticket failures often happen after the hard cook finished. Toppings and plating upgrades rescue stages where food is done but customers leave during garnish. Serving improvements help when the pass becomes a traffic jam. These upgrades shine in multi-step restaurants — Sushi, Ramen, specialty coffee drinks — where completion has several clicks after the main cook.
Restaurant-by-restaurant spending notes
Grill House: prioritize grill reliability and prep for sides; respect burn windows after capacity bumps. Sushi House: prioritize rolling/assembly speed and toppings; keep rice flow steady. Coffee House: expect timing around drinks and quick serves — upgrade the stations you spam every ticket. Pasta House: boiling and sauce finishing often bottleneck; fund those before vanity counters. Doughnut House: frying windows behave like grill discipline; capacity plus attention. Chinese House: wok and multi-dish pressure reward prep batching upgrades. Ramen House: broth and topping stacks punish slow garnish paths. Remaining houses in the twelve: apply the diagnose-first framework instead of copying another kitchen’s build blindly.
Currency farming without misery
You do not need an infinite grind loop. Clear stages you can finish cleanly, collect pay, buy one targeted upgrade, then push the stubborn stage again. Replaying an easy stage a few times for coins is fine; replaying a chaotic failure twenty times hoping for a miracle is not. Competitions and rankings can add extra goals, but campaign upgrades should follow campaign bottlenecks first.
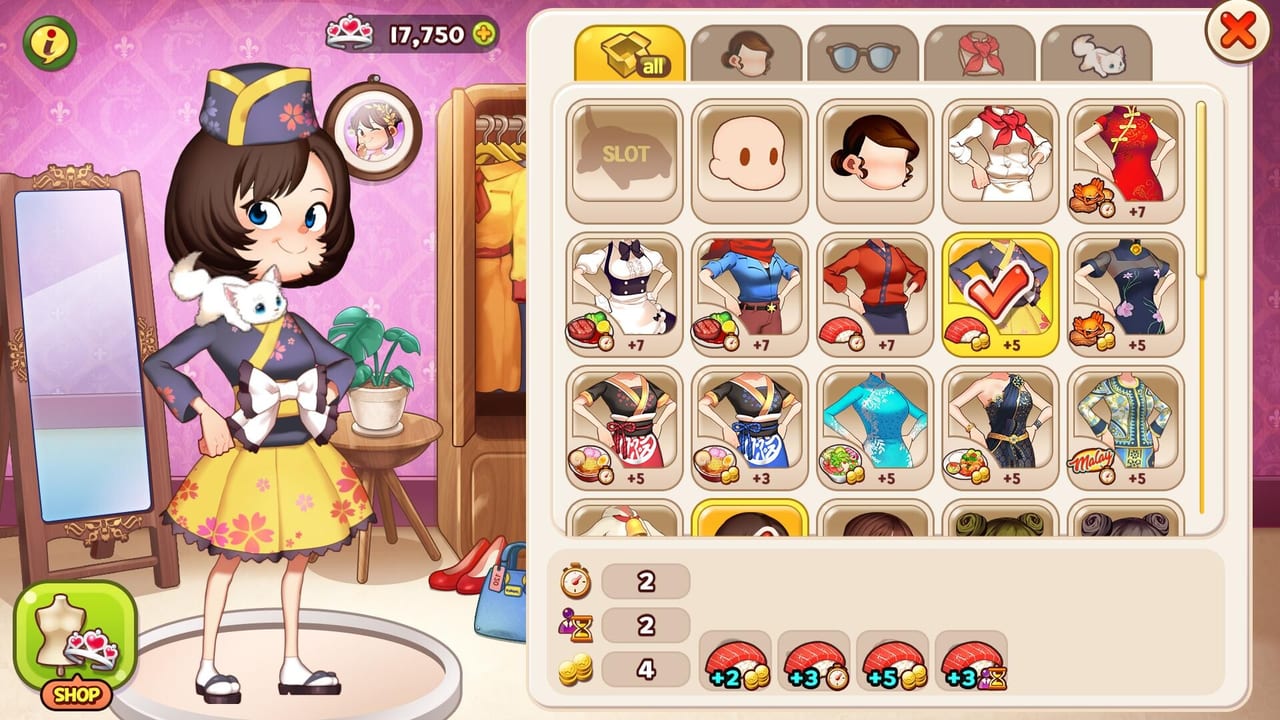
Costumes for Noma are cosmetic customization. Do not confuse wardrobe spending or achievement chasing (44 achievements) with kitchen power. Look the part after the kitchen works.
Upgrades and three-star retries
A common pattern: two-star clears forever on a stage. Checklist:
- Confirm controls mistakes are not the real issue.
- Confirm you understand the menu via restaurant guides.
- Buy one upgrade aimed at the observed bottleneck.
- Retry with the same strategy, not random panic.
If the upgrade did nothing, you misdiagnosed — refund that lesson by watching the next failure closely.
Long-campaign planning
With twelve restaurants, avoid emptying your wallet on optional flair in restaurant three if restaurant four introduces a harsher timer. Keep a small reserve when you sense a new house unlock approaching. The Guides Hub and Getting Started pages outline the journey; this page owns the spending logic along the way.
Linked systems
- Hands: Controls
- Scoring: Three-Star Strategy
- Early kitchens: Grill and Sushi
- Meta hubs: Codes, Tier List, Updates, Links
Practical shopping checklist
Before every purchase, say out loud: “This upgrade fixes ___ that caused ___ on my last shift.” If you cannot fill the blanks, do not buy yet. Play one more stage, collect data, then spend. That single rule keeps Cooking Adventure’s economy aligned with skill growth across hundreds of stages.
Master upgrades and Noma’s kitchens scale with you. Ignore them and even perfect recipes eventually drown under ticket volume. Spend like a chef managing a real line budget: fix the station that stops service, then polish.
Frequently Asked Questions
Quick answers for new and returning chefs.
What should I upgrade first in a new restaurant?
Upgrade the station that caused your last failure or the action you perform on nearly every ticket. Diagnose before buying.
Are kitchen upgrades pay-to-win microtransactions?
No. The Steam base game is buy-once with no base-game IAP. Upgrade currency is earned by playing stages.
Should I max every station evenly?
Not early. One bottleneck fix outperforms spreading coins across four minor upgrades.
Do costumes count as kitchen upgrades?
No. Costumes customize Noma cosmetically. They do not replace prep, cook, topping, or serve upgrades.
When do I stop buying and just retry for stars?
When clears already feel paced and mistakes are execution errors. If the kitchen feels too slow even on clean play, buy first.
Does each restaurant need its own upgrade plan?
Yes. Grill burn capacity is not the same priority as Sushi topping speed. Re-diagnose when a new house opens.